
Set up Chrome Enterprise Premium
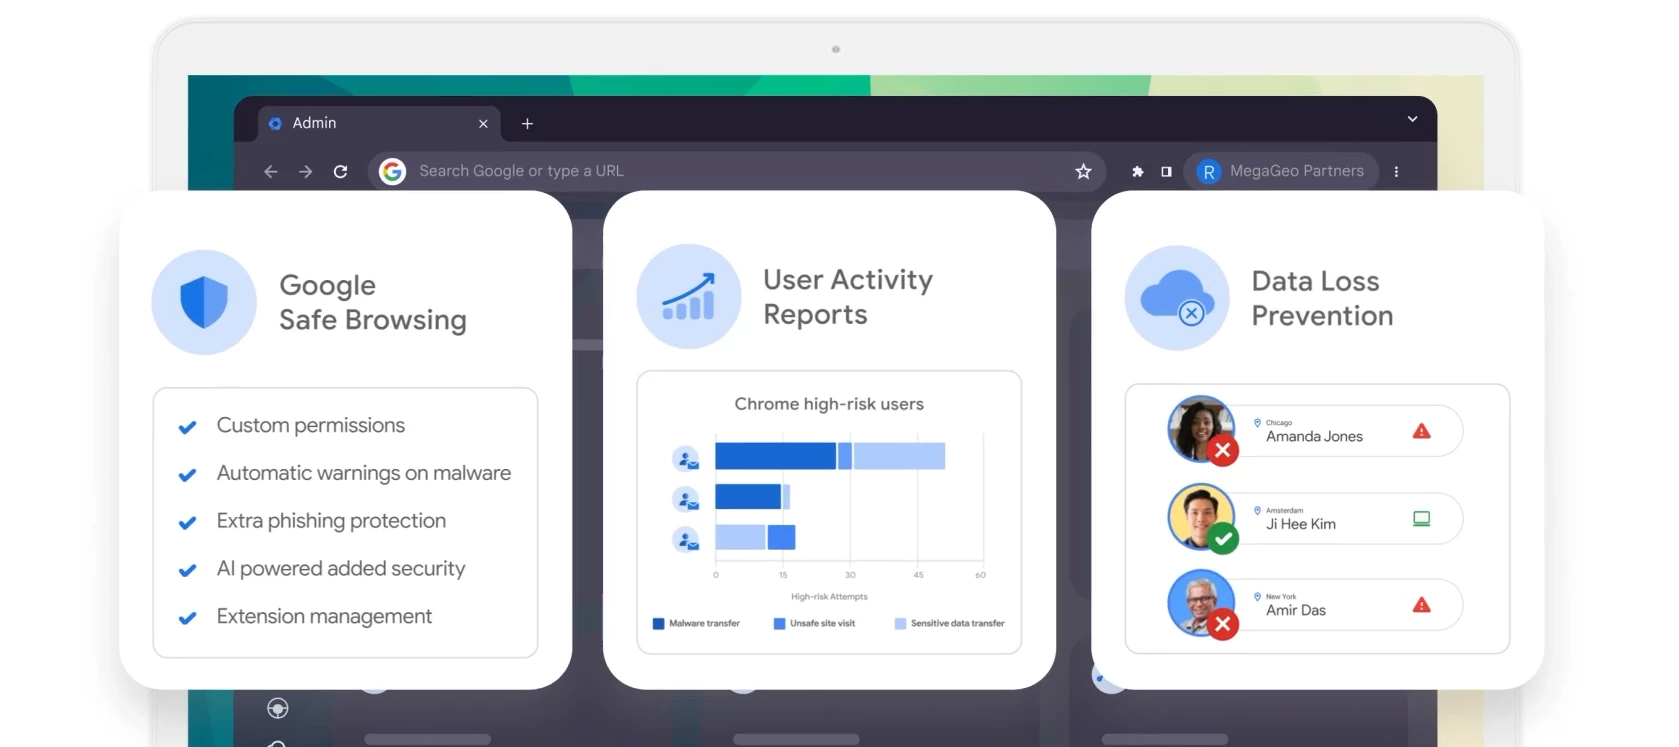
Chrome Enterprise Premium provides advanced data protection, threat defense, and context-aware access controls directly within the browser. This guide outlines the steps to prepare your environment, configure settings, and activate your trial.
Initial Requirements
- Super Admin Access: Required within the Google Admin Console (admin.google.com) to enable subscriptions and create delegated roles.
- Google Cloud Console Access: Ensure your organization has an existing Google Cloud Organization created. Required for enabling the trial and advanced access control configurations.
- Foundational Subscriptions: Ensure you have enabled Chrome Enterprise Core and Cloud Identity Free (both available at no cost in Billing > Subscriptions).
Step 1: Set Up Admin Roles
To adhere to the principle of least privilege, create a custom role for the evaluation team.
- Navigate to Account > Admin Roles
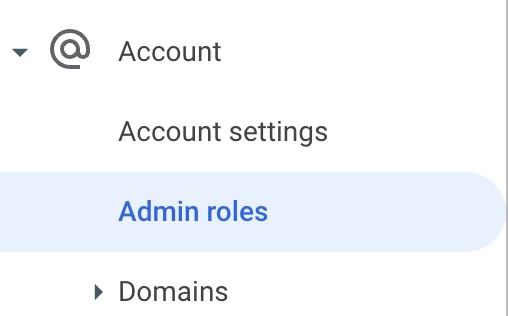
and click Create new role.

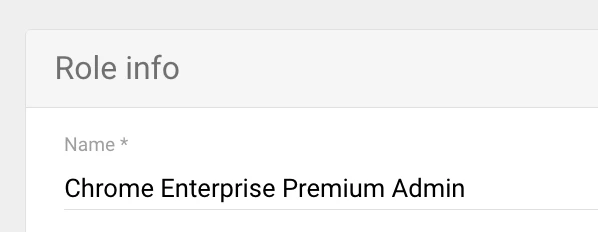
- Name it Chrome Enterprise Premium Admin.
- Select the following privileges (Check both Admin console and Admin API sections):
- Organizational Units: Read
- Security Center: Activity Rules & Full Administrative Rights
- Data Security: Rule Management & Access Level Management
- Chrome Management: Settings
- Chrome DLP: Manage application insights, OCR settings, and view settings
- Chrome Enterprise Security Services: Settings
- DLP: Manage and View rules
- Assign the role to your selected administrators.
Step 2: Prepare Your Test Environment
Create a dedicated Organizational Unit (OU) structure to test policies safely without affecting production devices.
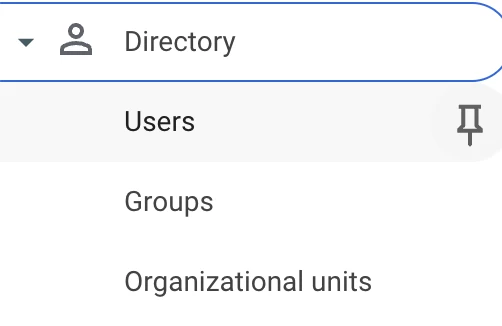
- Navigate to Directory > Organizational units.
- Create a parent OU named CEP Trial.
- Create two child OUs under it:
- CEP Trial - Managed Devices (For enrolled browsers/machines).
- CEP Trial - Managed Users (For test user profiles).
Step 3: Enable Security Connectors & Reporting
For Premium features like DLP and Malware Scanning to function, you must enable the connectors on your CEP Trial OU.
- Navigate to Devices > Chrome > Settings and select the CEP Trial OU.
- Reporting: Enable Managed browser cloud reporting and Managed profile reporting.
- Connectors: Search for "Connector" and set these to Chrome Enterprise Premium:
- Upload, Download, Print, and Bulk text (Copy/Paste) content analysis.
- Real-time URL check.
- Safe Browsing: Set Safe Browsing protection level to Enhanced mode.
Step 4: Deploy Required Extensions
Force-install these extensions to gather device health signals and enforce context-aware policies.
Navigate to Apps & Extensions: ○ In the Admin console, go to Devices > Chrome > Apps & extensions > Users & browsers. ○ Ensure you have selected your parent test OU, CEP Trial, on the left. 2. Add Endpoint Verification Extension by ID:
- Endpoint Verification: callobklhcbilhphinckomhgkigmfocg (Set to Force install + pin).
- Secure Enterprise Browser: ekajlcmdfcigmdbphhifahdfjbkciflj (Set to Force install).
Step 5: Activate the Trial & Assign Licenses
Once configured, activate the trial to enforce protection policies.
- Navigate to Chrome Browser > Reports > Security Insights (if the option is not available, you need to create a GCP account first).
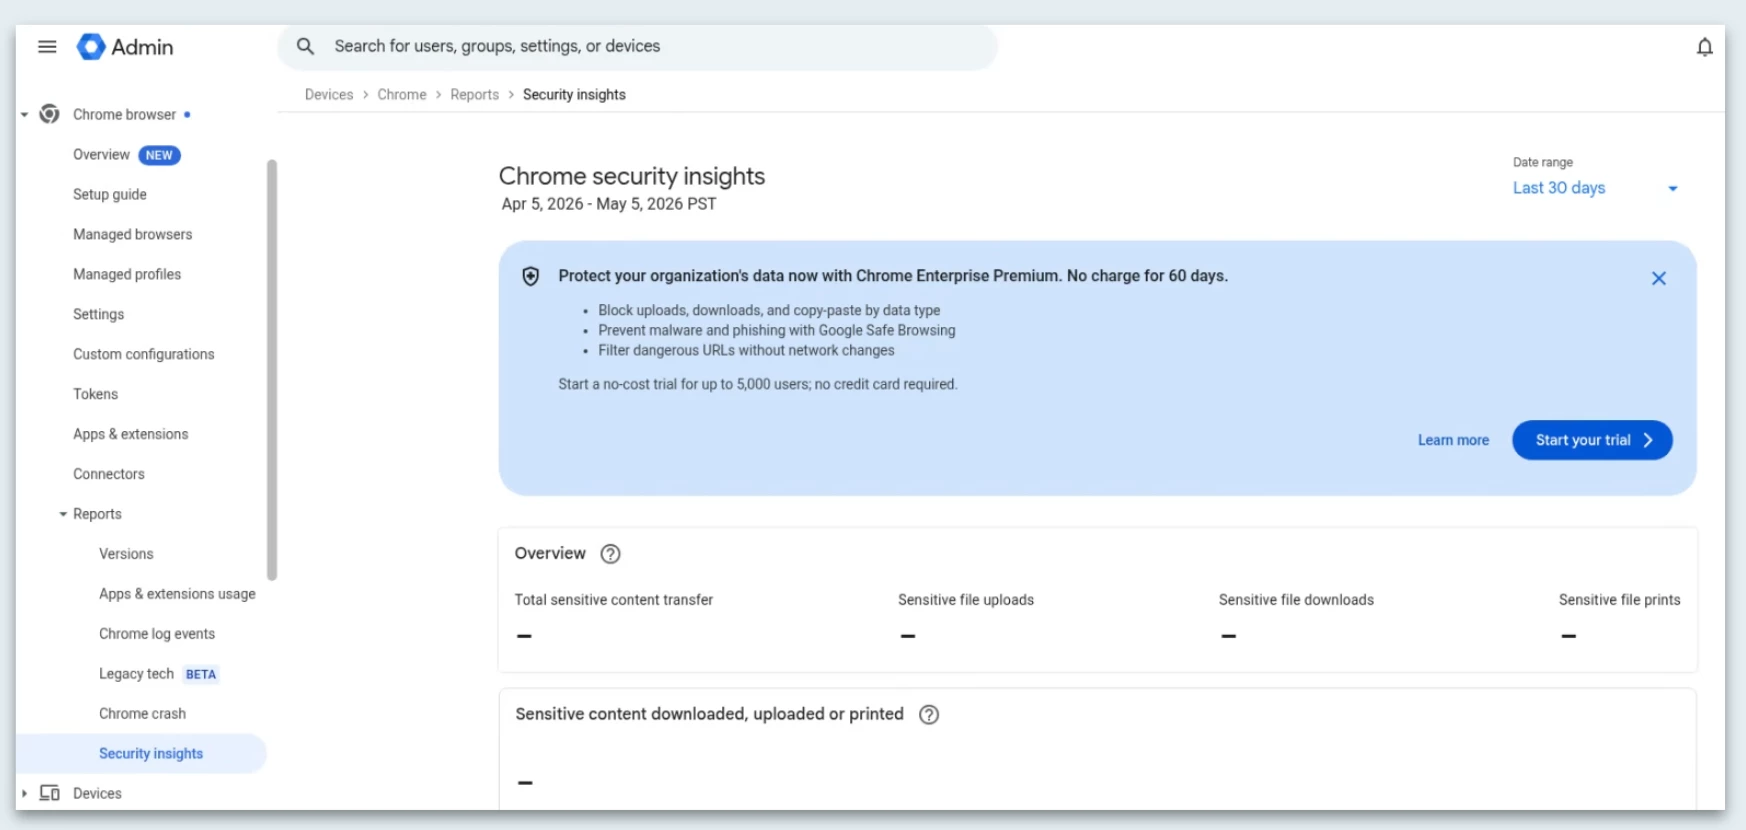
- Click on Start your trial:
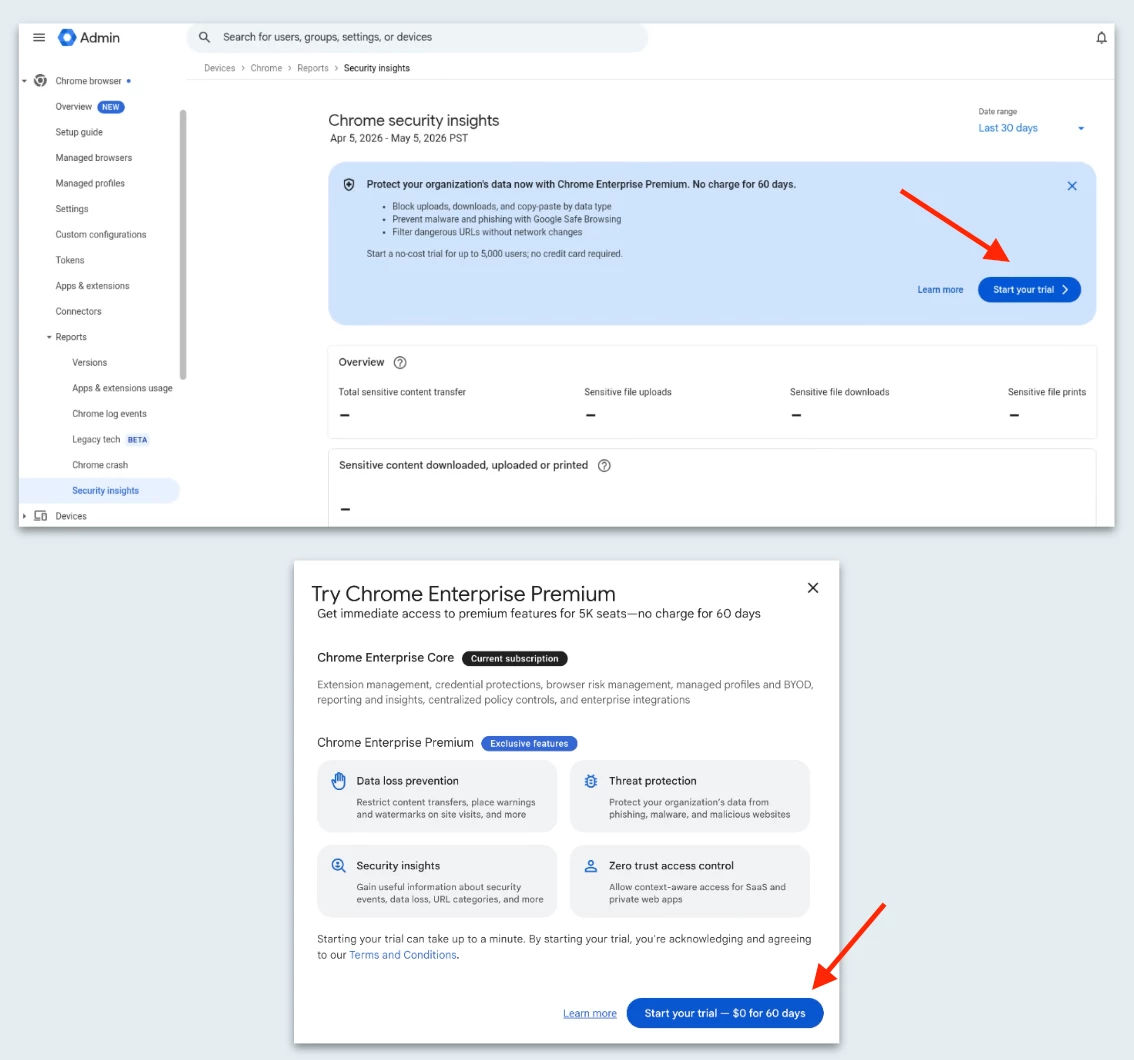
-
The trial activation might take a few minutes. A message will notify inviting you to access to the getting started guide.

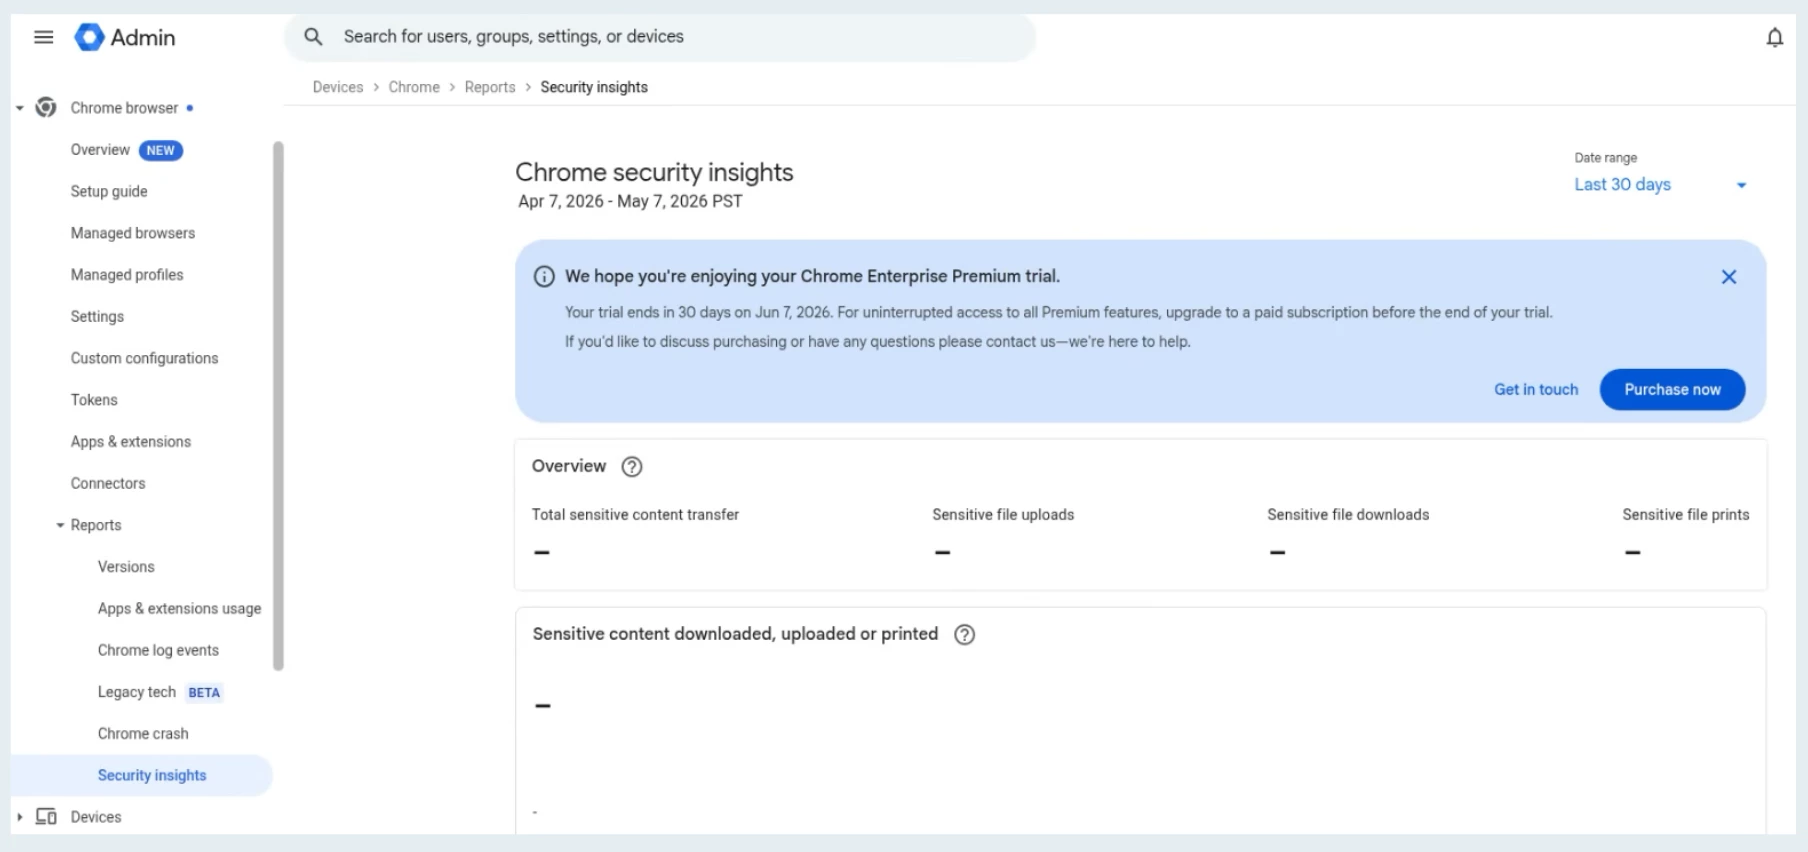
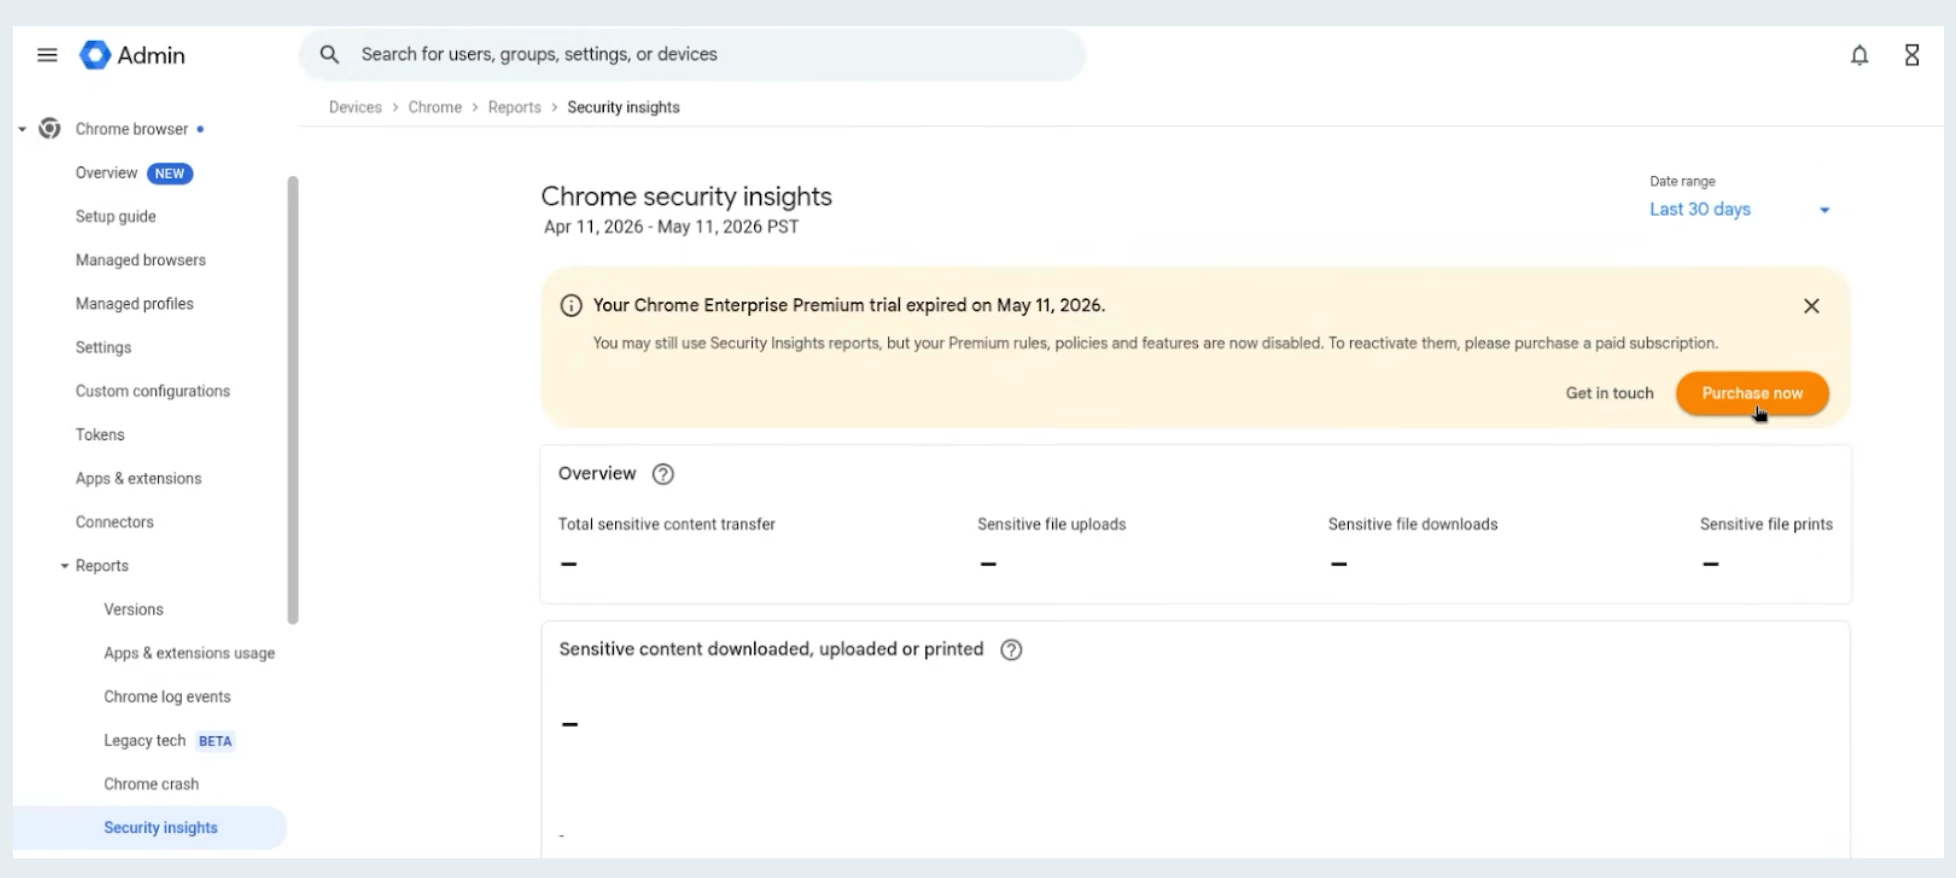
- Once the trial is active, the Security Insights page will display a banner with a “Get in touch” and a “Purchase now” buttons:
- Get in touch: Directs trialists to a support form to connect with an expert (Concierge sales Team)
- Purchase Now: This will initiate the self-service transaction flow via GCP Pantheon (Google Cloud Console), CEP subscription creation page opened in a new browser tab.
Step 6: After the Trial period
- Expired Trial
Once the 60-days Trial comes to an end, a banner under Security Insights will inform that Premium features including rules and policies are now disabled - with the options to Get in touch or Purchase now.
-
Creating the PayGo Subscription
If you click on Purchase now, it will initiate the self-service transaction flow via GCP Pantheon (Google Cloud Console), and a CEP subscription creation page opened in a new browser tab.
Follow the steps in the GCP Pantheon UI to create a PayGo subscription
Tip: Enable Automatic Licensing for your CEP Trial OU to ensure any new user or device added automatically receives a Premium license.